Unity Shader入门精要学习笔记:使用噪声
消融效果
常见于游戏中角色死亡,地图烧毁等效果,这些效果中,消融往往从不同区域开始,并向看似随机的方向扩张,最后整个物体消失不见。
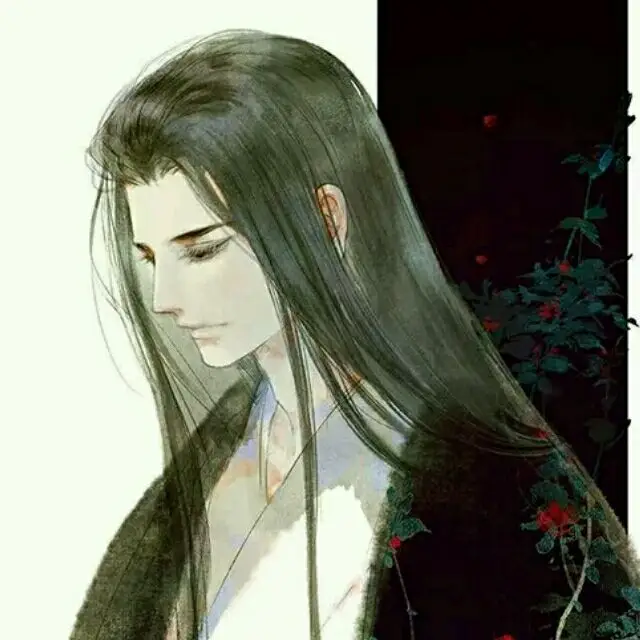
下面是来自《英魂之刃口袋版》的一个击杀特效:

原理非常简单,就是噪声纹理+透明度测试。我们使用对噪声纹理采样的结果和某个控制消融程度的阈值比较,如果小于阈值,就是用clip函数把它对应的像素裁剪掉,也就是被“烧毁的部分”,镂空区域边缘的烧焦效果则是将两种颜色混合,再用pow函数处理后,与原纹理颜色混合后的结果。
1 | using UnityEngine; |
1 | // Upgrade NOTE: replaced '_Object2World' with 'unity_ObjectToWorld' |
水波效果
在模拟实时水面的过程中,往往也会使用噪声纹理,此时,噪声贴图通常会用作一个高度图,以不断修改睡眠的法线方向,为了模拟水不断流动的效果,会使用和时间相关的变量来对噪声纹理进行采样,当得到法线信息后,再进行正常的反射+折射计算,得到最后的水面波动效果。
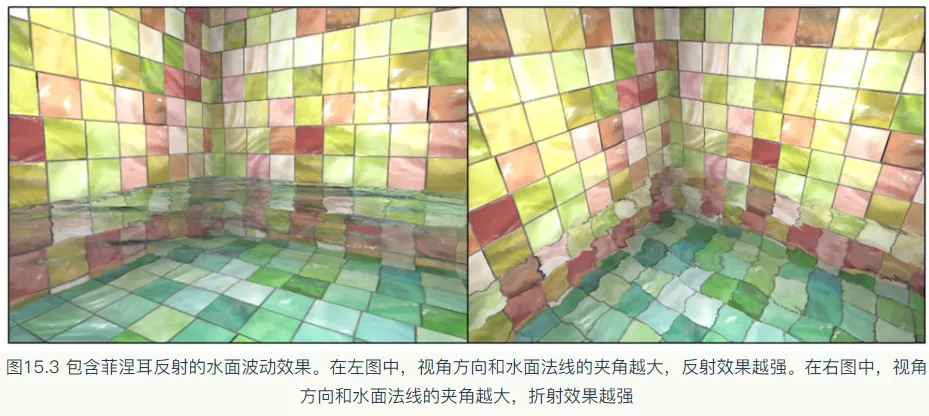
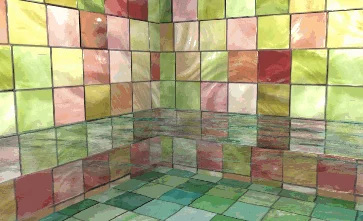
为了模拟折射效果,我们使用GrabPass来获取当前屏幕的渲染纹理,并使用切线空间下的法线方向对像素的屏幕坐标进行偏移,再使用该坐标对渲染纹理进行屏幕采样,从而模拟出近似的折射效果。水波纹的法线纹理是由一张噪声纹理生成而得,并且会随着时间变化不断平移,模拟波光粼粼的效果。使用了菲涅尔系数来动态决定混合系数。
其中v和n分别对应了视角方向和法线方向。他们夹角越小,fresnel值越小,反射越弱,折射越强。菲涅尔系数还经常会用于边缘光照的计算中。
1 | // Upgrade NOTE: replaced '_Object2World' with 'unity_ObjectToWorld' |
再谈全局雾效
1 | using UnityEngine; |
1 | // Upgrade NOTE: replaced 'mul(UNITY_MATRIX_MVP,*)' with 'UnityObjectToClipPos(*)' |

扩展阅读
噪声纹理可以被认为是一种程序纹理,都是计算机利用某些算法生成的。
最常用的有Perlin噪声和Worley噪声。
Perlin噪声可以用于生成更加自然的噪声纹理,Worley噪声通常用于模拟诸如石头,水,纸张等多孔噪声。
本博客所有文章除特别声明外,均采用 CC BY-NC-SA 4.0 许可协议。转载请注明来源 登峰造极者,殊途亦同归。!
 微信
微信 支付宝
支付宝
相关推荐
2021-02-20
URP下基于后处理的热空气扭曲效果
前言 前几天在网上看到一位大神的 Unity Shader-热空气扭曲效果 文章,感觉应该是个常见的效果,所以准备在URP里实现一下,正好再次深入使用一下URP,期间也遇到了一些匪夷所思的坑,也会在文章中说明。 原文中的全屏扭曲和基于GrabPass的方式都省略不谈,这里来用URP实现一下基于后处理的热空气扭曲。 环境 URP版本:7.3.1 Unity版本:2019.4.8f1 正文 原文中的实现核心思路是在需要扭曲的地方摆放一个面片,然后将这个面片渲染到一张RenderTexture上作为Mask,后处理的时候以Mask为基准决定ColorTexture哪些地方需要扭曲,然后对一张Noise图进行采样,对目标像素做偏移,达到扭曲的效果。 仔细分析后发现其实就一个难点,就是如何在URP下将物体渲染到一个RenderTexture上。 恰巧前阵子 研究战争迷雾 的时候看到了这篇文章:流朔 -【Unity URP】以Render Feature实现卡通渲染中的刘海投影 ,其中就有将物体渲染到RenderTexture的相关操作,这样一来就没有问题了,开搞。 首先创建一个Render...
2025-01-28
颜色管线精粹
前言 接触图形学中颜色相关的概念许久了,色域,LDR,HDR,ToneMapping,伽马空间,线性空间,sRGB,ACES等名词也都算耳熟能详,但一直以来都是零散细碎的知识点,从来没系统整理过。 个人一直关注UE的发展和官方油管频道,恰巧看到了一个颜色管线的视频,算是事无巨细的详解了上面每一个概念和他们之间的关系,遂有此文,与诸君共赏。 今天我们要讨论发生在引擎和渲染过程中的颜色管线以及特定的颜色转换 线性渲染 我们先想象一个简化版的渲染管线,一个纹理输入,在线性空间下渲染,经过后处理,最后显示在窗口中(或者存储到一个文件中) 我们先从中间看起,即Linear Rendering in RGB,既然是渲染,我们首先应该关注的就是颜色值 颜色值代表光量,可以是范围很大的值,也可以是范围很小的值 并且他们是线性的,这意味着如果我们将颜色值翻倍,我们得到的光量也是翻倍的 他们用于引擎的工作环境和运行时环境的颜色空间中 在更加深入之前,我们先了解一下颜色的基础知识 颜色基础知识 一般我们在谈论颜色空间的时候,同时涵盖了颜色编码和颜色空间这两个概念,我们先来看颜色空间 颜色空间 ...
2023-07-24
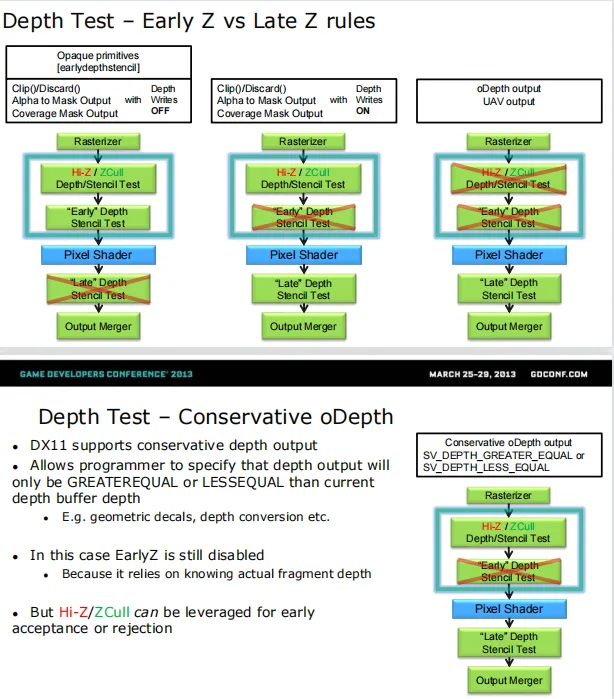
Early-Z和Late-Z规则
前言 已经不止一次看到有文章说:不管有没有Early-Z最后的Late-Z一定会执行了,仔细想一下其实是不合理的: Early-Z相当于把Late-Z提前,一样会有逐片元的深度测试和深度写入,如果Early-Z和Late-Z是共存的,那么就有两次Z-Buffer的读取和写入,造成带宽浪费 Early-Z因为种种原因失效了,执行Late-Z无可非议,但如果Early-Z没有失效,我们都在Early-Z处理好了,为什么还需要在Late-Z处理一次? 这篇文章就把深度缓冲区的所有操作都整理起来,并且还会包含一些引申出来的知识点,给每位看官进行一条龙服务。 正文 名词规范 国际惯例了属于是,为了避免歧义,本文中所有用到的名词,英语词汇都将在此处列出,希望看官们能把此处列出的名词和释义代入文章中,而不是自己脑海里的,这样你好我也好: PS:片元着色器 Z-Buffer:深度缓冲区 Z-Test:深度测试 Z-Write:深度写入 Early-Z:提前Z-Test和Z-Write,位于光栅化阶段之后,PS阶段之前,以pixel quad为单位(既以4个像素为一组,因为深度缓存内的数据是...
2021-10-21
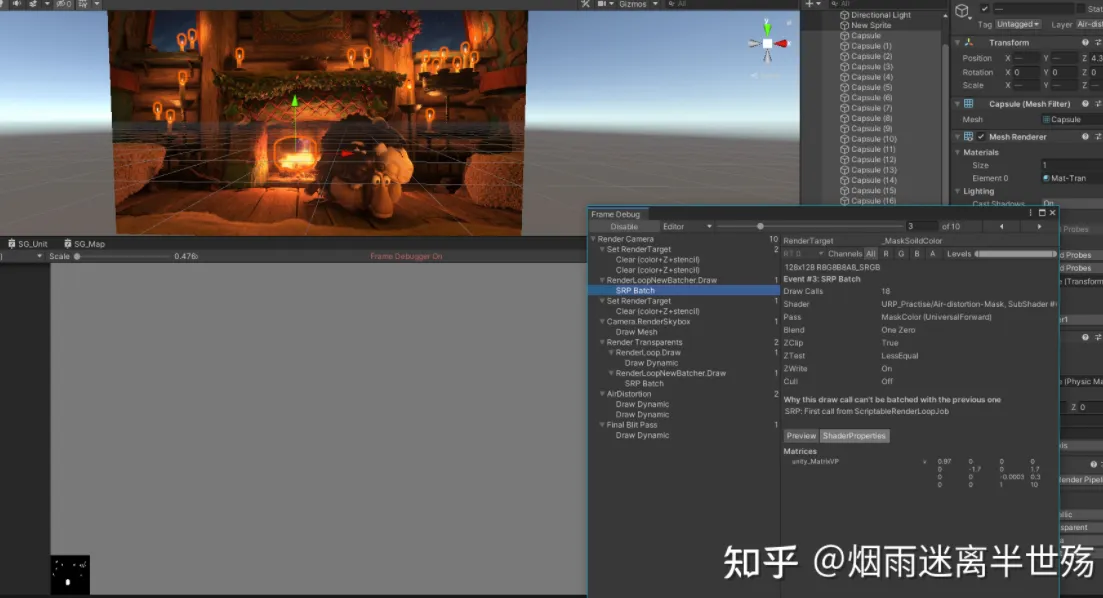
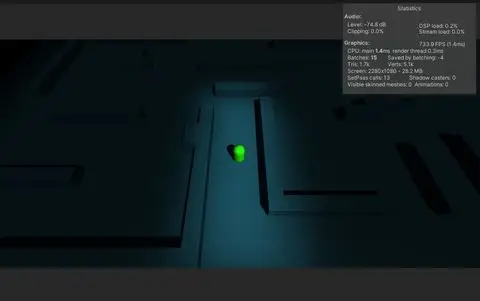
基于URP屏幕空间采样与JobSystem加速的战争迷雾
本文章已于 2021.9.24 更新,提供一个 JobSystem 加速示例。 本文章已于 2021.3.23 更新,将用到的 Shader 代码转为 HLSL 语言,支持 SRP Batcher(虽然在这里并没有什么卵用),优化模糊 Blit 次数。 前言 这阵子在研究战争迷雾相关的内容,在网上找了一些文章和开源库,主要有两种做法: 一是直接在场景上放一张大面片,用作迷雾,这种方式适用于相机角度不会发生改变的情况,否则会有穿帮的风险,但这种方案性能比较好。 二是基于屏幕空间对迷雾纹理进行采样,然后通过后处理的方式得到最终游戏画面,这种方案最为稳妥,但相应的性能会低一些。 但是网上找得到的战争迷雾方案全都是 Built-In 管线下进行的,那么对于基于屏幕后处理的战争迷雾,就会不可避免的涉及到 OnRenderImage 和 Blit 操作,这些操作在默认不指定相机 RenderTexture 的情况下会涉及对 GPU 中的 FrameBuffer 进行拷贝 + 和 CPU 与 GPU 之间的数据传递,都是比较消耗性能的操作,需要尽量减少,单一个战争迷雾可能还好,后处理...
2021-01-01
纹理映射
纹理映射 在尝试复制真实世界的外貌时,人们很快意识到几乎任何物质的表面都是有特征的。木材长有纹理。皮肤长有皱纹;布料会有编织结构;油画会有画刷或滚筒留下的痕迹,即使是光滑的塑料也会有制作他的模具的凹凸不平的痕迹,并且光滑金属显示出机器加工过程的痕迹。材料的没有特征的地方很快也会被斑点,凹痕,污点,划痕,指纹和污垢覆盖。 在图形学中,我们把这些现象统称为“空间上表面属性的变化”——表面的属性在每一处地方都在发生着变化,但并没有真正意义上改变表面的形状,考虑到这些因素,所有的建模和渲染系统都提供了一些纹理映射的涵义:使用一个被称作纹理贴图,纹理图像,或者仅仅是一个纹理,来存储这些你想要在一个表面上展示的细节,然后进行数学处理,把这个图片“映射”到表面上。 事实证明,一旦存在将图像映射到表面的机制,就会有很多奇淫技巧,这些技巧已经超过了我们介绍表面细节的基本目标。纹理可以用来制作阴影和反射,提供光照信息,甚至定义表面形状。在复杂的交互程序中,纹理经常被用于存储与其作为一张图片毫无干系的的数据(这里不知道怎么组织语言了,举个例子就是我们可以把骨骼动画烘焙到一张纹理中,从而让GPU去执行蒙...
2021-11-26
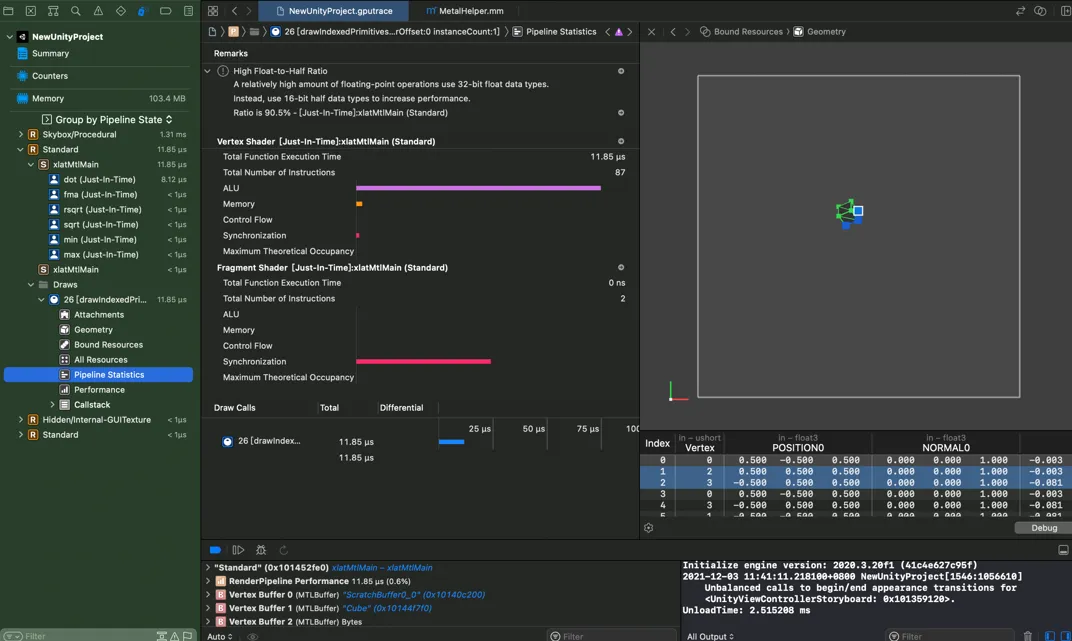
常见游戏渲染Profiler工具使用指南
前言 最近除了拼UI之外也在断断续续做着渲染性能优化工作,其实这块内容说难也不难,说简单肯定也不简单,不难是因为当今Profiler工具相当完善,甚至可以精确到每一条Shader汇编指令的耗时,XCode还可以给出优化建议,不简单是因为很多时候就算得知了性能热点,但却不知道如何下手,因为需要掌握的知识很多,比如要会看Nvidia,OpenGL,Vulkan等后端API的汇编码,要知道做了优化操作之后对渲染流程中各个模块的影响,比如为了减少OverDraw把Alpha Blend改成Alpha Test,Early-z会不会失效,在移动平台是不是性能更高,还有些情况让人纠结,比如优化了下ALU耗时,带宽又上去了。 对于老手来说可能一行代码写下来,什么带宽,ALU耗时,精度转换,甚至汇编码都知道是什么个情况了,对于新手来说,就得老老实实对着Profiler工具慢慢看,慢慢调。当然这是少数情况了,大部分情况下老手们依旧要看Profiler,因为谁也捉摸不透不同的GPU架构和指令集会做出怎么样的优化(负优化),所以于情于理Profiler工具的学习还是很必要的。 目前用下来感觉最好用的移...
评论